3.7 KiB
Prerequisites
This tutorial can be followed using either Google Cloud Platform or Microsoft Azure. Any sections where the commands to be entered are different based on the selected platform will either be captioned gcloud or az, depending on the platform that the command applies to.
Google Cloud Platform
This tutorial leverages the Google Cloud Platform to streamline provisioning of the compute infrastructure required to bootstrap a Kubernetes cluster from the ground up. Sign up for $300 in free credits.
Estimated cost to run this tutorial: $0.23 per hour ($5.50 per day).
The compute resources required for this tutorial exceed the Google Cloud Platform free tier.
Google Cloud Platform SDK
Install the Google Cloud SDK
Follow the Google Cloud SDK documentation to install and configure the gcloud command line utility.
Verify the Google Cloud SDK version is 338.0.0 or higher:
gcloud version
Set a Default Compute Region and Zone
This tutorial assumes a default compute region and zone have been configured.
If you are using the gcloud command-line tool for the first time init is the easiest way to do this:
gcloud init
Then be sure to authorize gcloud to access the Cloud Platform with your Google user credentials:
gcloud auth login
Next set a default compute region and compute zone:
gcloud config set compute/region us-west1
Set a default compute zone:
gcloud config set compute/zone us-west1-c
Use the
gcloud compute zones listcommand to view additional regions and zones.
Microsoft Azure Cloud Platform
As an alternative, MS Azure can be used to provision resources to complete the tutorial. Estimated cost is roughly $11 a day
Azure CLI
Installation
Documentation on installing the azure CLI (az) is located here
az Setup
If this is your first time running the az tool, you will need to login. The easiest way to do this is via az login, which will bring up a web browser where you will fill out your username/password. Alternative methods for logging in are detailed here
Set your default location:
az config set defaults.location=eastus
Create a resource group to hold all VMs / VPCs / etc that will be created:
az group create --resource-group k8s-the-hard-way
Set the created resource group as the default:
az config set defaults.group=k8s-the-hard-way
Set the default output format to Table (easier to read than JSON, see here for other output formats available)
az config set core.output=table
Running Commands in Parallel with tmux
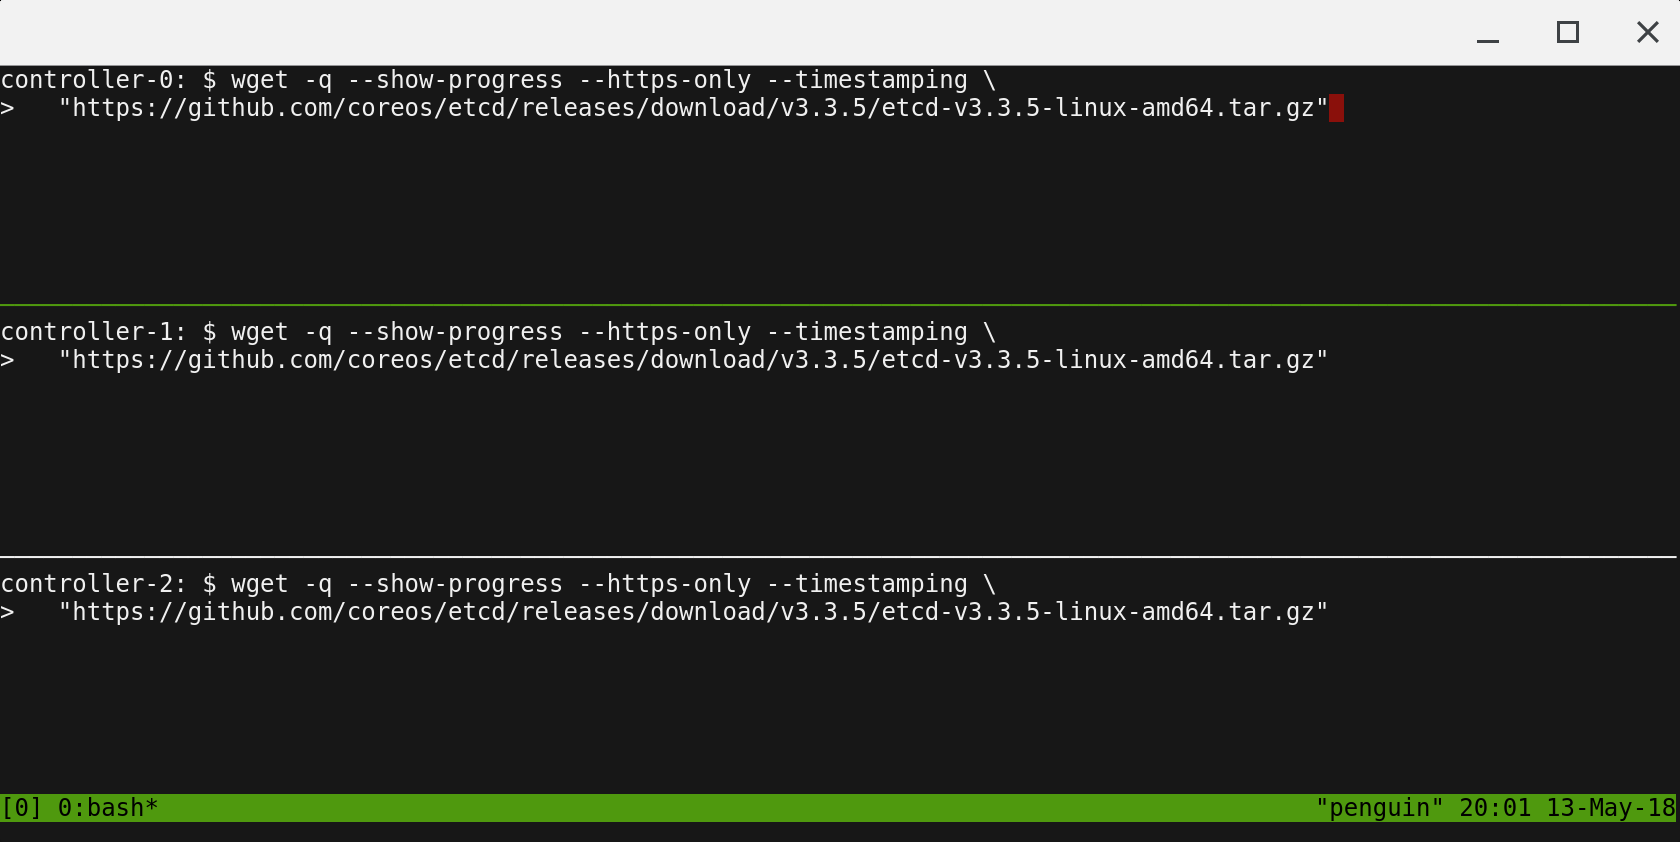
tmux can be used to run commands on multiple compute instances at the same time. Labs in this tutorial may require running the same commands across multiple compute instances, in those cases consider using tmux and splitting a window into multiple panes with synchronize-panes enabled to speed up the provisioning process.
The use of tmux is optional and not required to complete this tutorial.
Enable synchronize-panes by pressing
ctrl+bfollowed byshift+:. Next typeset synchronize-panes onat the prompt. To disable synchronization:set synchronize-panes off.
